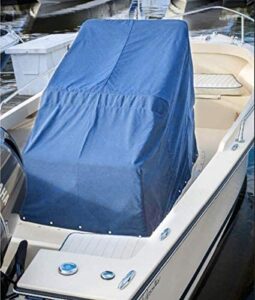
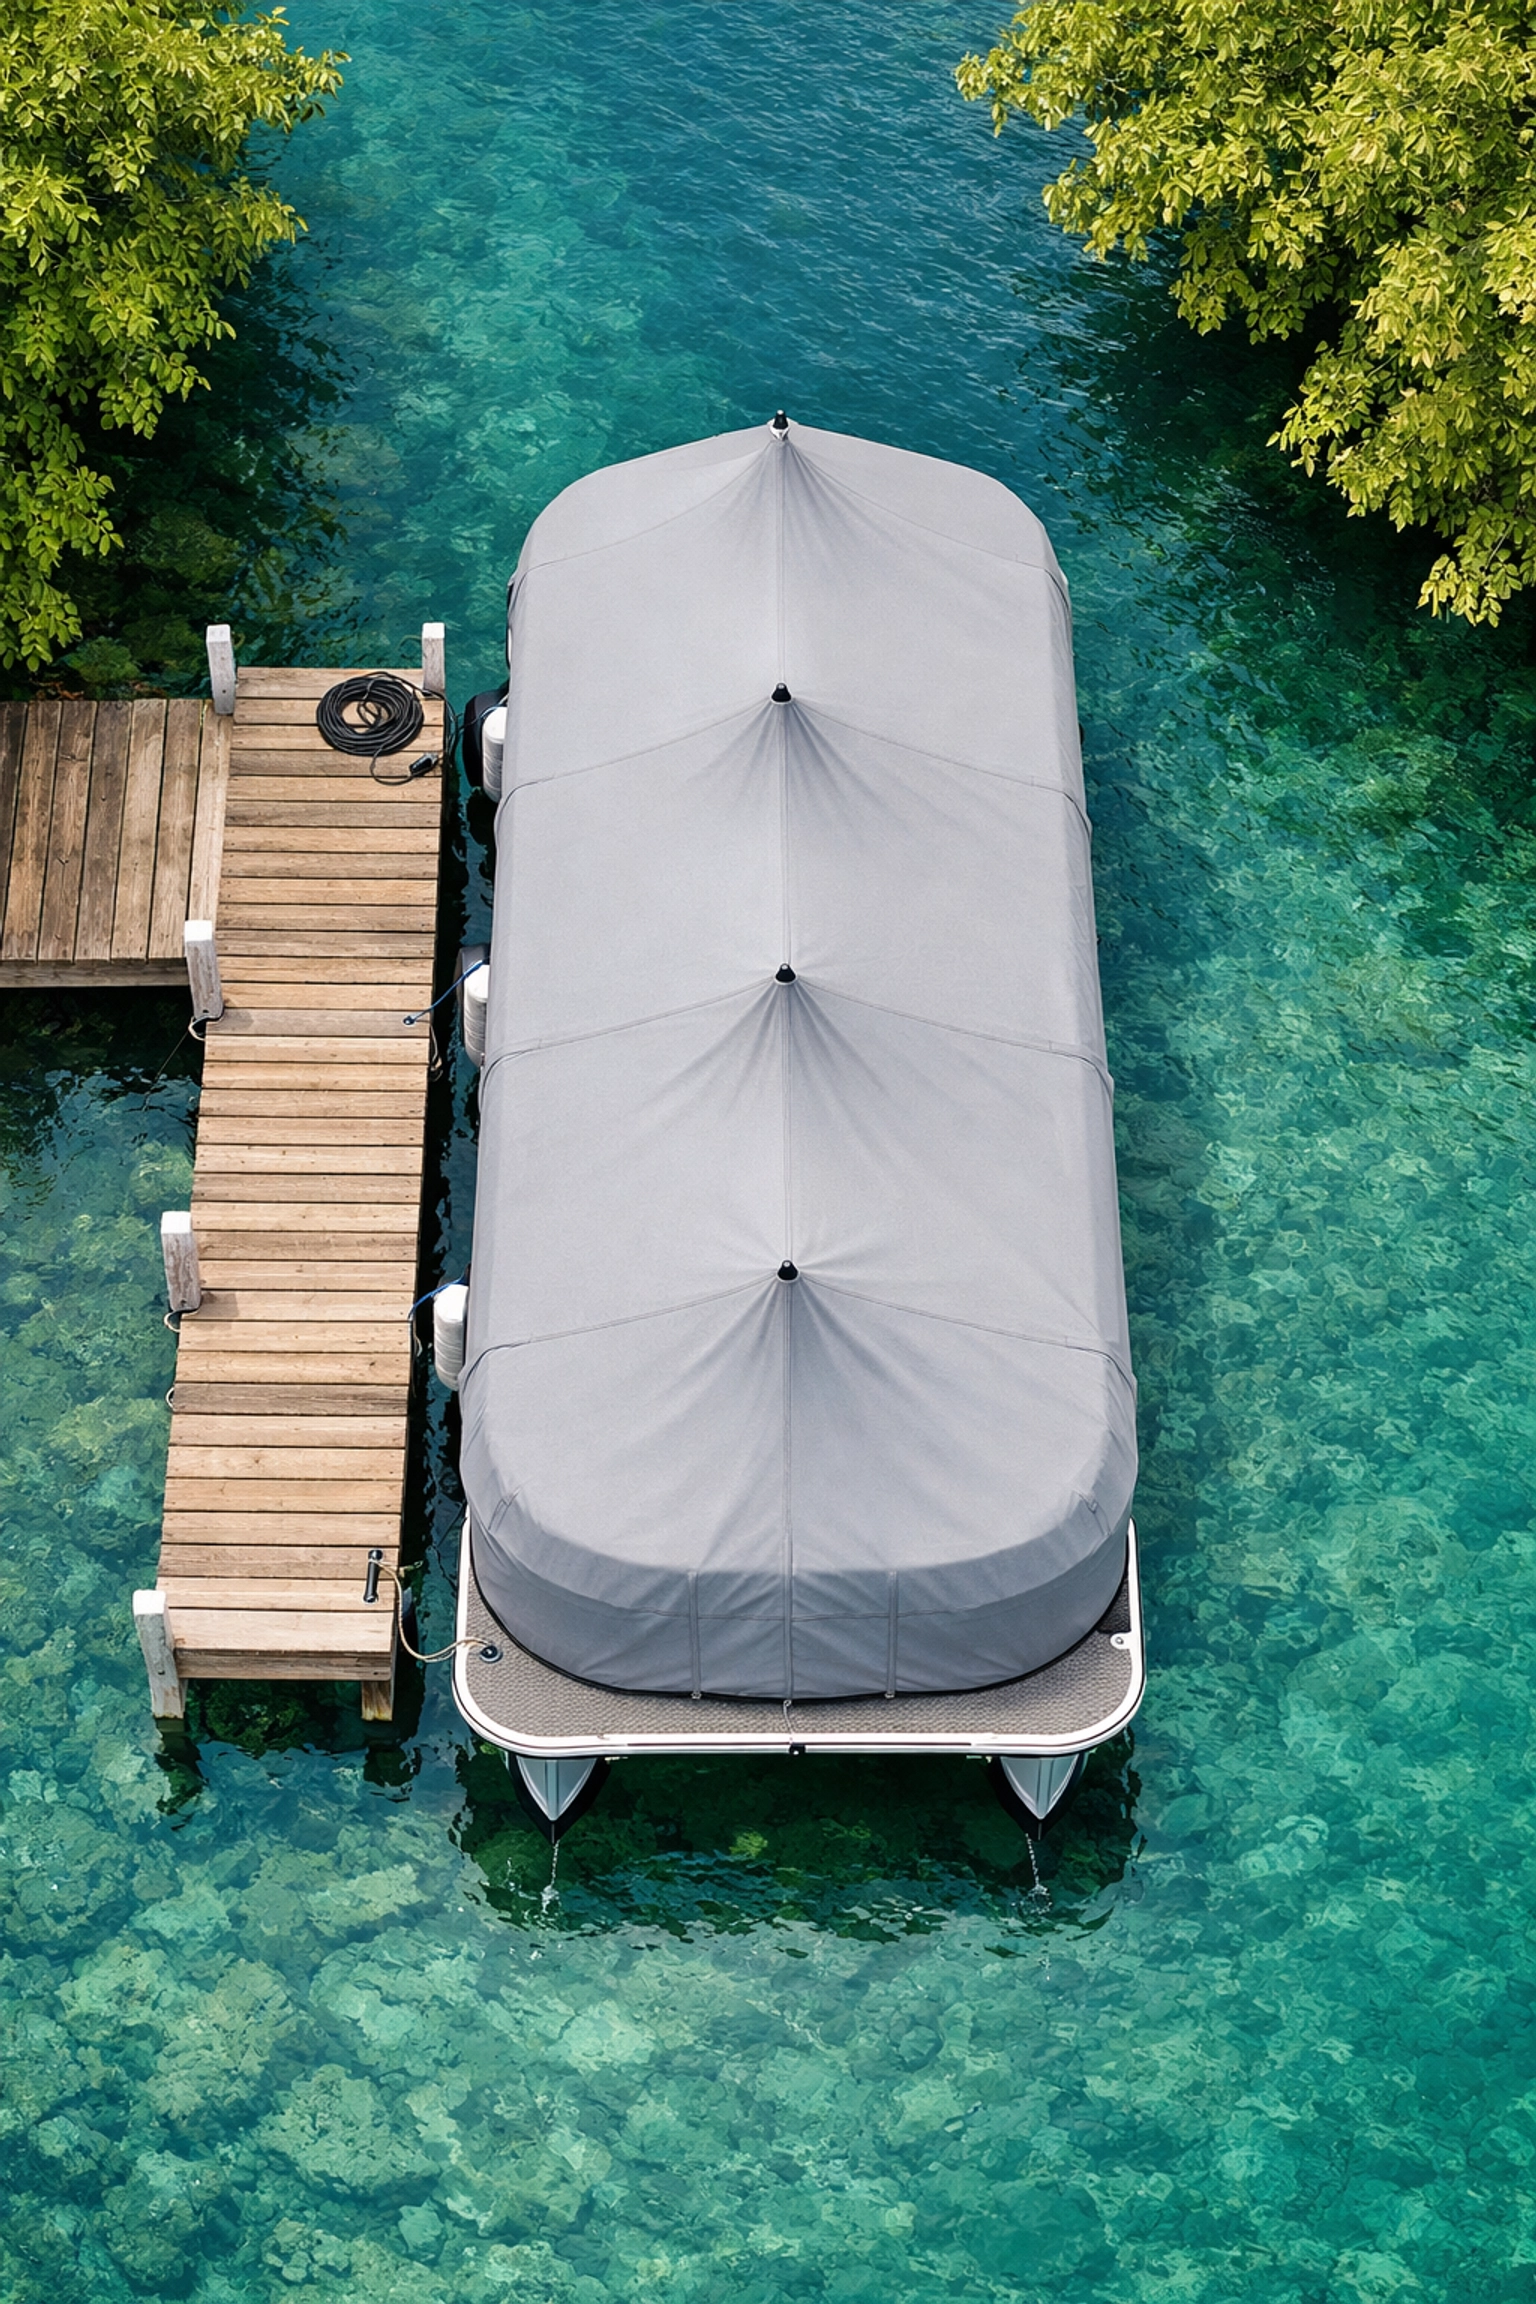
We’ve all been there. The sun is setting on a perfect Saturday, the kids are tired but happy, and you’ve just pulled back into the slip. The only thing standing between you and a cold drink on the dock is “The Beast”, that massive, heavy, slightly damp piece of canvas known as the pontoon boat cover.
If you ask any seasoned owner, they’ll tell you that the cover is the most hated part of owning and operating your pontoon. It’s cumbersome, the snaps never seem to line up, and if you don’t get the poles just right, you’re looking at a giant birdbath the next time it rains.
At Pontoonboats-org, we believe that the less time you spend wrestling with fabric, the more time you spend enjoying the lake life. We’ve compiled seven tried-and-true “quick-deploy” hacks that will turn your cover-up routine from a 20-minute workout into a five-minute breeze. Whether you are a first-time owner or a veteran boater, these tips are designed to get you on and off the water faster.
1. The Snap Tool: Your Fingers’ Best Friend
Let’s start with the most common pain point: the snaps. When the fabric is cold or has shrunk slightly in the sun, getting those last few snaps to click can feel like a feat of superhuman strength. Worse yet, you end up with sore thumbs or a ripped fingernail.
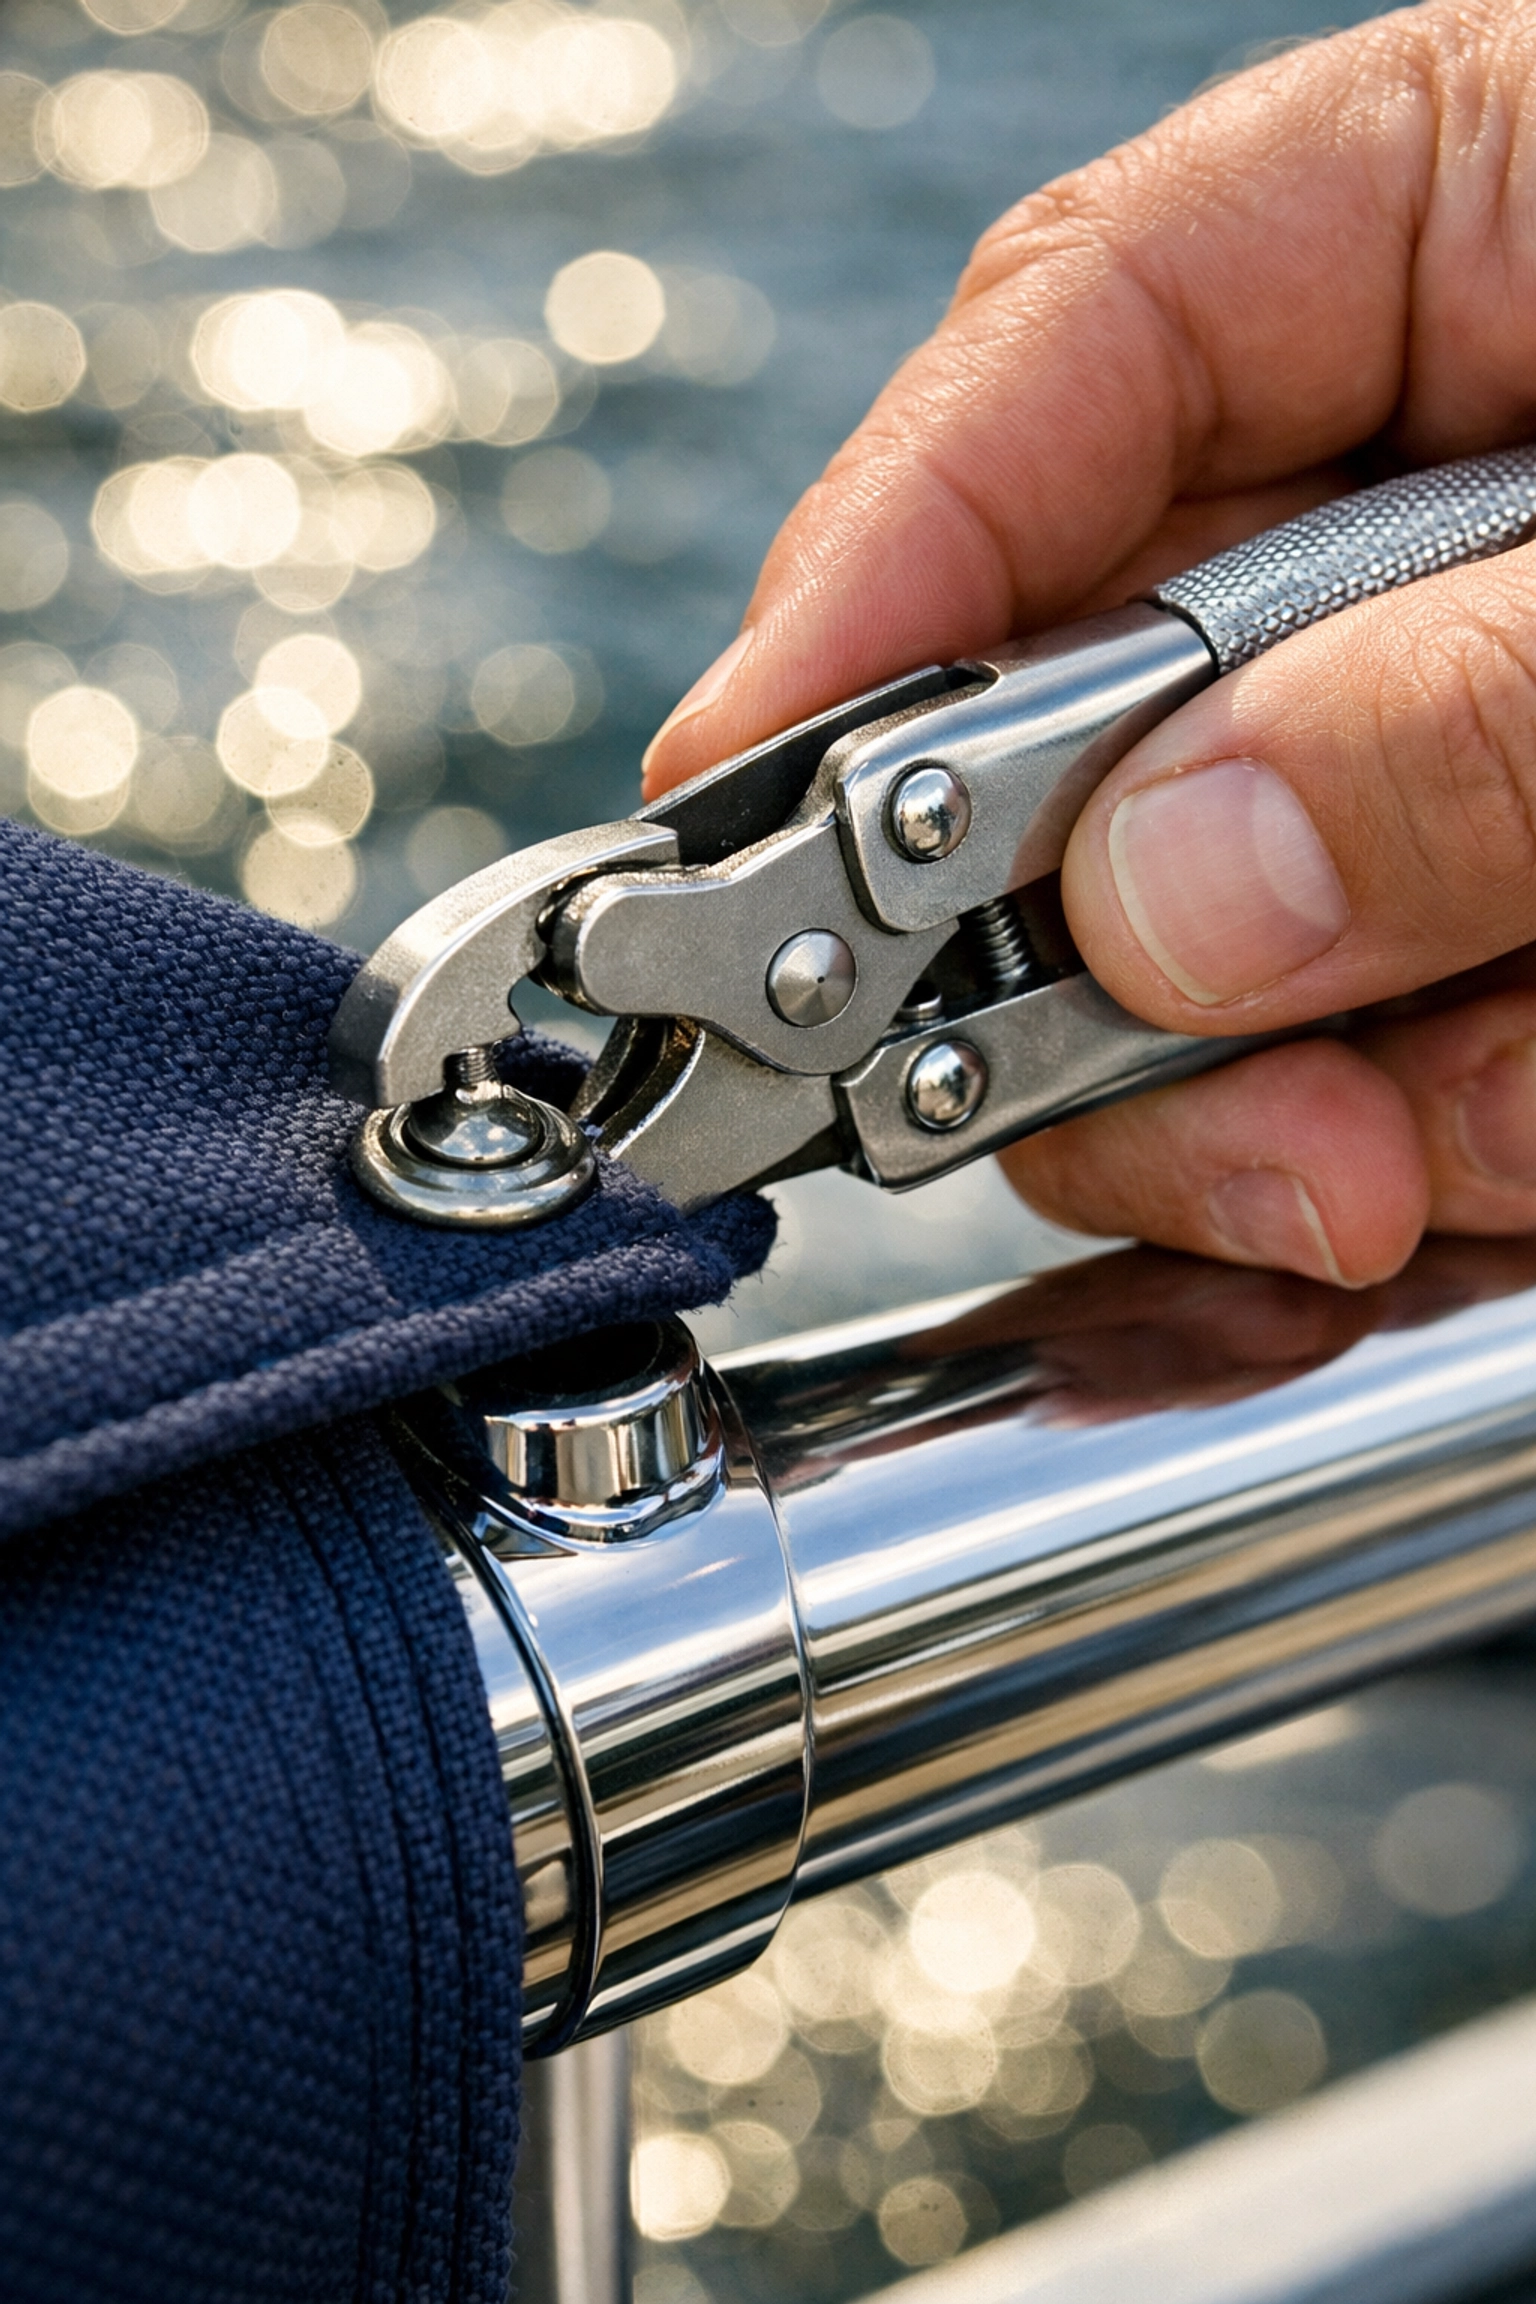
The solution is a dedicated snap tool (sometimes called a “Top-Notch” tool). This is one of those pontoon boat accessories that you don’t realize you need until you have it. It’s essentially a small, handheld lever that grips the snap and gives you the extra mechanical advantage to pull the fabric into place.
We recommend keeping one in the glove box or tethered to the railing. It eliminates the struggle of stretching the canvas and prevents the snaps from tearing out of the fabric over time. If you’re dealing with an older boat or a custom cover that’s gotten tight, this tool is a total game-changer.
2. Lubricate Your Snaps (Yes, Really!)
If you find yourself fighting with snaps that are stuck, corroded, or just plain stubborn, you’re missing a vital maintenance step. Saltwater, rain, and humidity can cause metal snaps to oxidize, making them incredibly difficult to click or release.
A quick hack we use is applying a tiny bit of specialized snap lubricant or even just a clear paraffin wax candle to the “male” end of the snap (the part on the boat). You don’t need much: just enough to create a slick surface.
Doing this once a month during the season ensures that every snap clicks in effortlessly. It also makes the removal process much faster. Instead of yanking and praying the fabric doesn’t rip, the cover will pop right off. We address all these little maintenance questions because we know that small frustrations add up over a long summer.
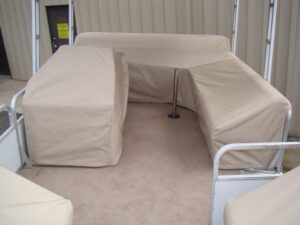
3. The “Burrito” Roll Method
How you take the cover off determines how easy it is to put back on. Most people just bunch the cover up into a ball and shove it under a seat. This is a recipe for disaster. Not only does it trap moisture and lead to mold, but it also means you’ll spend ten minutes trying to find the front of the cover the next time you use it.
Try the “Burrito Roll” instead. Start at the bow (front) and the stern (back) simultaneously, folding the sides toward the center of the boat. Once you have a long “strip” of cover running down the middle of the deck, start rolling it from one end to the other.
By rolling it systematically, you ensure that when you go to deploy it again, you simply set the roll in the middle of the boat, unroll it down the center, and flip the sides over the rails. It’s predictable, organized, and saves you from the “which way is up?” dance.
4. Mark Your Midpoints and Bow
It sounds simple, but you’d be surprised how much time is wasted trying to figure out which end of the cover is the front. While many manufacturers put a small tag on the inside, those tags fade or tear off.
Take a silver permanent marker (or a fabric marker) and write “BOW” in large letters on the underside of the front section. Even better, mark the center point of the front and back.
When you’re pulling the cover over the rails, you can instantly line up your marks with the center of the gate or the motor pod. No more pulling the cover 10 feet too far forward only to realize you’re at the wrong end. This is one of those 10 best must-have boat accessories hacks that costs exactly zero dollars but pays off every single weekend.
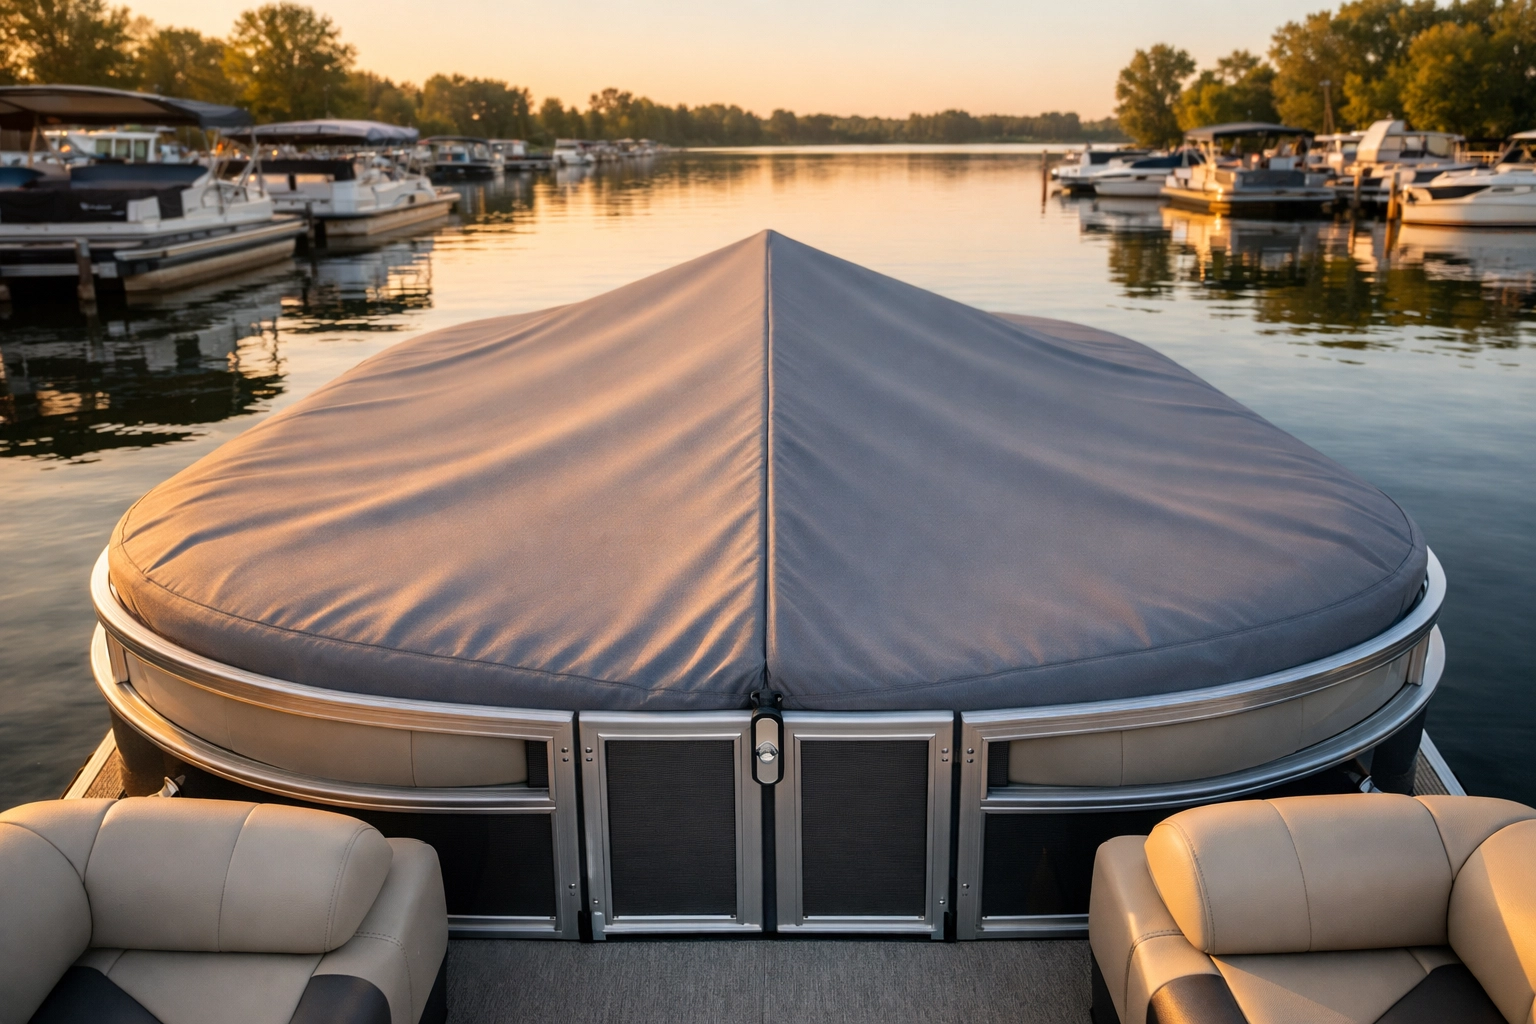
5. Master the Telescoping Support Poles
Support poles are the backbone of a good cover. Without them, water pools on the canvas, leading to “lake-sized” puddles that can actually collapse your bimini structure or stretch the fabric permanently. However, crawling under a half-snapped cover to set poles is a claustrophobic nightmare.
The hack? Switch to telescoping poles with “snap-on” tops or “crutch-tip” bottoms. Before you even start snapping the sides of the cover, place your poles in their general locations.
If your cover has pre-installed vents that double as pole supports, make sure you use them. We’ve found that labeling the floor of your pontoon with a small piece of marine-grade tape where the poles should sit ensures they are perfectly positioned every time. This prevents the “pole tip-over” that happens when you’re trying to pull the canvas tight.
6. Use the “Two-Person Pivot”
If you boat with a partner or friend, don’t try to be a hero and do the cover alone. The most efficient way to deploy a cover is the “Two-Person Pivot.”
Standing on opposite sides of the boat at the bow, you each grab a corner. You walk toward the stern together, pulling the cover over the rails in one smooth motion. Once the cover is draped, one person starts snapping from the front-left, and the other starts from the front-right. You meet in the middle at the stern.
By working in tandem, you keep the tension even across the fabric, which makes the snaps line up much more naturally. If you’re looking to upgrade your setup to make the whole boat look like new, check out our guide on a DIY pontoon transformation for more inspiration on hardware upgrades.
7. The Bungee Cord Assist
For those who trailer their boats or store them in windy areas, getting the straps tight enough can be a struggle. A quick-deploy hack is to replace standard tie-down ropes with heavy-duty marine bungee cords that have coated hooks.
Instead of fumbling with knots or plastic buckles that get brittle in the sun, you can simply hook the bungee to the trailer frame or the pontoon “cleats.” The constant tension of the bungee keeps the cover taut even as the fabric expands and contracts with temperature changes.
Note: Only use this for stationary storage. If you are towing your pontoon, always use the manufacturer-recommended ratcheting straps to ensure the cover doesn’t fly off on the highway!
Why Quality Covers and Accessories Matter
We know that a cover is a chore, but it’s also the single best investment you can make to protect your boat’s interior. UV rays are the enemy of vinyl seats, and bird droppings or tree sap can ruin a deck in a single season.
Keeping your cover in good shape goes hand-in-hand with pontoon boat cleaning. If your cover is moldy or dirty, it’s going to transfer that mess to your clean seats. We recommend giving your cover a quick rinse and letting it dry completely before you roll it up for the week.
Summary of Quick-Deploy Tips:
- Use a Snap Tool: Save your hands and the fabric.
- Lubricate Snaps: Keep them clicking with wax or specialized lube.
- The Burrito Roll: Never lose the front of your cover again.
- Mark the Bow: A simple Sharpie mark saves minutes of confusion.
- Pole Positioning: Label your floor for perfect support every time.
- Teamwork: Split the snapping duties to keep tension even.
- Bungee Hooks: Faster than knots for dockside storage.
Final Thoughts
At the end of the day, we want you to spend your time enjoying fun deck platforms and jumping off diving boards, not fighting with a piece of canvas. By implementing even two or three of these hacks, you’ll find that the “end of the day” cleanup becomes just another quick part of the routine.
If you’re looking for more ways to maximize your time on the water, or if you’re ready to upgrade your current rig, feel free to explore our blog or contact us with your specific boating questions. We have you covered, literally!
Whether you’re a “seasoned veteran” or just starting out, we’re here to help you make the most of every lake day. Now get out there, enjoy the water, and remember: work smarter, not harder, when it comes to the cover!